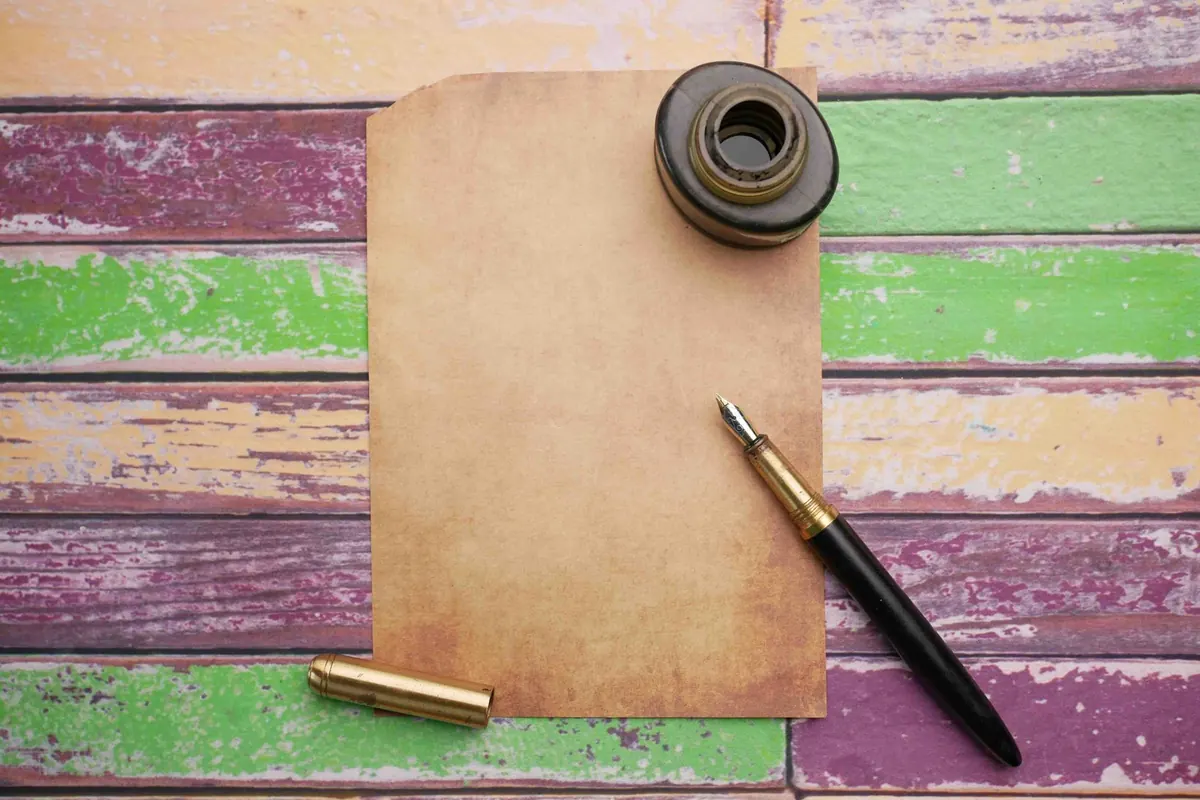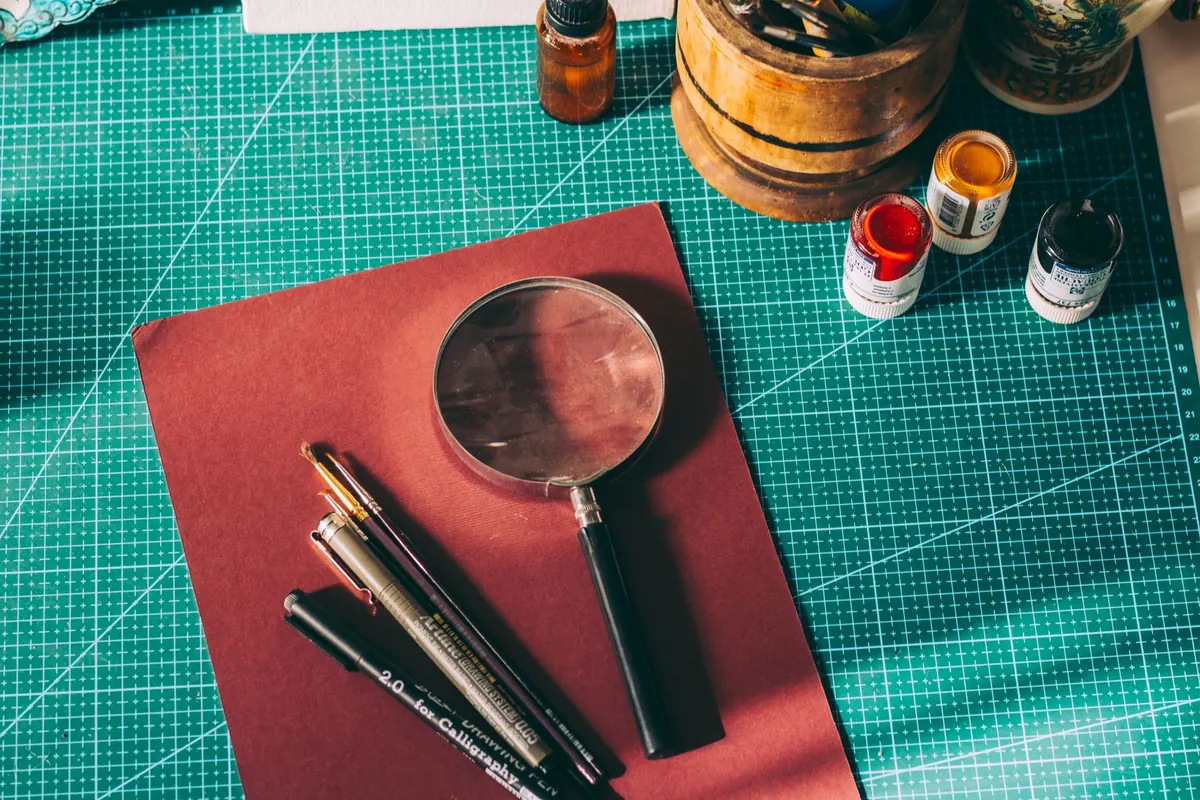
A fountain pen that has sat in a drawer since last winter will tell you about it the moment you put nib to paper. The line stutters. The nib feels scratchy. What ink does arrive looks pale and watery. Nine times out of ten the pen is not broken; the feed is clogged with dried pigment and there is nothing left in the channel to lubricate the tip. Cleaning a fountain pen is not difficult, but it is easy to do carelessly, and a few common shortcuts will cost you a nib. Here is a routine that works, plus the one thing UK tap water does to pens that most guides ignore.
Before you start: the kit
You do not need much, and nothing expensive. Gather it first so you are not rummaging mid-flush with inky fingers.
- Lukewarm water. Cool or tepid, never hot. If it is uncomfortable on your wrist, it is too warm for the pen.
- A small bowl or an old mug, plus a glass of clean water for rinsing.
- A bulb syringe (the rubber ear-cleaning sort from a pharmacy) if your pen takes cartridges or a converter. It forces water through the section far faster than a converter can.
- Kitchen roll and a soft, lint-free cloth.
- Optional: a proprietary pen flush, or plain household ammonia diluted one part to ten parts water.
- A bottle of distilled or deionised water for the final rinse. Supermarkets and car accessory shops sell it cheaply for irons and batteries.
Work over a sink with the plug in. Nibs bounce, and a dropped nib is the end of the story.
The routine flush
For a pen in regular use, this takes ten minutes and prevents most problems. Do it every four to eight weeks, and always before you change ink colour.
- Empty the pen. Write the last of the ink onto kitchen roll rather than into the basin, which saves you a stained sink.
- Unscrew the barrel and set it aside. Take off the converter or pull out the cartridge. Never leave a cartridge jammed in place while you flush.
- Rinse the nib and feed under a gentle trickle of lukewarm water, nib pointing down, so water runs away from the section rather than into it.
- Fit the bulb syringe over the ink intake at the back of the section and push water through until it runs clear. Ten to fifteen pushes is typical. Without a syringe, refill and empty the converter repeatedly instead.
- For a piston or vacuum filler, fill and expel lukewarm water perhaps a dozen times until the water leaving the nib is colourless.
- Rinse the converter separately by drawing and expelling clean water.
- Shake the worst of the water out of the section, then stand the nib on a wad of kitchen roll so the paper wicks moisture out of the feed.
When the ink has dried solid
Dried ink needs soaking, not force. Stand the section nib-down in a shallow dish of lukewarm water so that only the nib and feed are submerged — not the whole barrel. Water creeping past the section can rust springs, cloud ink windows and reach places you cannot dry properly.
Change the water every few hours. Two to twelve hours is usually enough; stubborn pigment inks such as the waterproof document ranges may need longer. A drop of washing-up liquid per mug of water helps break the surface tension. For a genuinely blocked pen, a dilute ammonia flush is the standard remedy — but keep ammonia away from aluminium parts, which it corrodes, and away from vintage hard rubber, casein and old celluloid. If the pen is a family heirloom or pre-1960s, plain water and patience are the safer route.
Hard water: the quiet problem
Much of England — the south-east, East Anglia, the Midlands, London — has hard water, and hard water leaves limescale behind when it dries. In a pen, that shows up as a chalky white film on the nib and feed fins, a flow that gradually tightens over weeks, and ink that seems to break up on the page. You may also notice it in the converter, where mineral deposits cling to the walls.
What to do about it
- Flush with filtered water if your tap water is very hard, and finish every clean with a rinse of distilled or deionised water. This is the single most useful habit for UK pen owners.
- Soak a scaled-up nib in dilute pen flush or a mild ammonia solution, then brush the feed fins gently with a soft toothbrush. Leave the nib slit alone.
- Skip vinegar. It is a popular tip online, but acetic acid can pit steel and dull gold plating, and it does a poor job on limescale compared with a proper flush.
- Never use kettle descaler, bleach or bathroom cleaners on any part of a pen.
Softened water is better than hard water for rinsing, but it still contains dissolved minerals, so distilled remains the gold standard for that final wash.
Things that damage nibs
Most nib damage blamed on ink is actually damage done during cleaning. Avoid all of the following.
- Hot water. Feeds warp, adhesives soften, and shellac seals let go.
- Alcohol, acetone, nail varnish remover and white spirit. These attack plastics, craze clear barrels and ruin feeds.
- Ultrasonic cleaners on vintage or plated nibs, which can lift gold plating and loosen inlays.
- Flossing the slit with a razor blade, needle or craft knife. You will widen the gap or bend the tines, and the pen will never write the same.
- Scrubbing the tip with a cloth, a nail brush or abrasive pads. The iridium ball is tougher than you think, but the alignment is not.
- Flicking the pen dry like a thermometer. Water flies out; so, occasionally, does the nib.
- Drying on a radiator or with a hairdryer. Warm air plus thin plastic equals distortion.
Drying and the first refill
After the final distilled rinse, wick the nib on kitchen roll and stand it nib-down in a mug lined with paper for a few hours, or overnight if you can wait. A genuinely dry feed means the first refill writes cleanly and the ink does not arrive diluted and grey.
Refit the converter, fill slowly, and draw a little ink back out to saturate the feed. If the flow is still poor, soak it again rather than adjusting the nib yourself. Tine alignment is a job for a nib specialist, and it is a cheap fix compared with a replacement.
Keeping it clean between flushes
Consistency beats deep cleaning. Flush before storing a pen, never leave one sitting with ink in it for months, and rotate your pens so nothing goes stale at the back of the drawer. Keep a bulb syringe, a small bottle of distilled water and some kitchen roll near your desk, and you can clean a pen in the time it takes the kettle to boil.
Look after the feed and the nib looks after itself. A pen that is flushed regularly, rinsed free of limescale and dried properly will write the same on its thousandth fill as it did on its first.
Photo: Oliver King / Pexels